WELCOME to day 5 of the Stampendous Stack Art blog challenge inspiration week!
If you're just joining, don't miss the great projects created earlier this week, from some amazing artists. * Full blog hop list is at bottom of this post *
I was invited by Stampendous to play along and I would like to take this time to say THANK YOU!!
Stack Art is a fantastic, project-oriented product for creating place cards, gift tags, mementos, favors and more. So easy and perfect for beginning crafters!
Let me break it down for you:
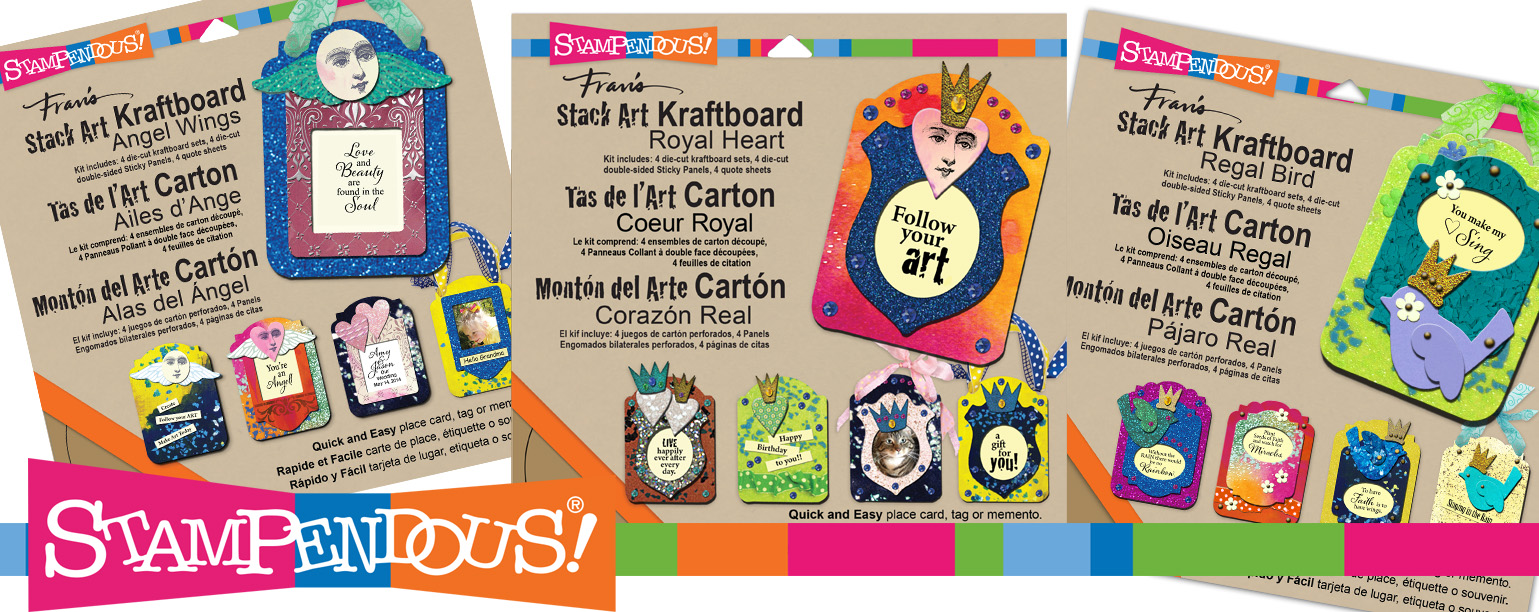
1. You start with one of the three Stack Art Kraftboard Kits
The Stack Art Kraftboard Kit (kraftboard pieces for 4+ amazing creations; adhesive for all the kraftboard pieces; and sentiments to make each piece special).

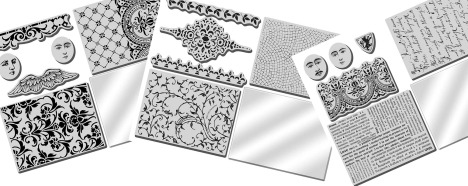
2. Choose your stamp set
The Stack Art Stamp Sets which include an assortment of terrific background stamps and other images plus an acrylic handle.

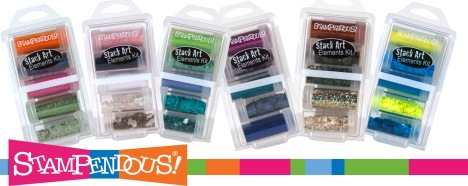
3. Choose elements kit
The Stack Art Elements Kits each include five jars of embellishing goodness to stick to your adhesive covered kraftboard pieces.

Here's my completed project! My focus was on using what was already on my craft table to create a magnet.
I'll show you just how simple it is to use this kit when you don't have much to work with to create something truly unique and beautiful that will inspire you to keep on creating - with attitude!
Here's how I created my little art piece:
I made a simple design by adding white dots, in varying sizes, with the end of a paintbrush handle.
Next, each dot was given a 3-D look by creating a small shadow underneath, with a pencil.
Another simple embellishment I added was a string of embroidery floss. Being very careful and only using very small amounts of hot glue, the floss was easily attached.
(While the hot glue was curing, I went ahead and colored one of the kraftboard pieces with a beautiful yellow ink and distressed the edges with black acrylic paint. --not pictured--)
I set that aside and continued working on the next section. Using one of the sentiments, I applied heavy-bodied white gesso over the words "Follow your" (leaving the word "art" untouched) and colored with oil pastels.
Sprinkled on some deep turquoise glitter on to the small crown...what a rich color!
Next, I glued a heavy-duty magnet and some scrap pieces of matboard to the back of each kraftboard piece.
Finally, I finished the look by scumbling a thin layer of liquid gold leaf (with a paintbrush) onto the surfaces of the kraftboard.
and here's a final close-up...I love the dimensionality of this!
Well, that's my inspiration for today! Thanks for visiting :)
supplies I used:
Stack Art Cling Rubber Stamps Royal Heart Kit – SAS03
Stack Art Elements – Sumptuous 5-Jar Kit – EKM03
ColorBox Blends Sunshine ink from Clearsnap
oil pastels
liquid gold leaf
Heavy-duty magnet
embroidery floss
Fluer-de-lis decorative charm
Visit all the blogs below and leave an insightful comment.
We’ll give away 3 Stack Art prize packages this week based on your
blog comments. Your comments will be your entry into the drawing.
I hope you enjoy all the amazing creations of my team mates!
You're welcome to connect with me via Bloglovin', Facebook, and Flickr!
Thank you for your comments!
You're welcome to connect with me via Bloglovin', Facebook, and Flickr!
Thank you for your comments!


LOVE the nondimensional dimensional dots!! What a great tip to add the appearance of 3D without the weight! Will have to remember this!
ReplyDeleteLove your magnet. The colors ROCK! Nice and bright and cheery! TFS!
Thank you, Barbara! Yes, the dots were a nice solution to keeping the project from becoming too bulky. These colors are always attention grabbing, for me!
DeleteLove this cool project, Martice! And really enjoy the idea of using whatever is on your craft table at the moment (of course for mine that would still make narrowing the choices very difficult!). Great project, thanks so much for sharing it with us this week!!
ReplyDeleteThank you, Stampendous! I have to admit: choosing just a handful of supplies IS very difficult for me as well. I really have to 'discipline' myself with this concept! I had fun creating this! :)
DeleteSuper fun idea!
ReplyDeleteThe layers are
so pretty.
Carla from Utah
So glad to have you visit, Carla! Yes, the layers really make this project unique. There are so many possibilities with these Stack Art kits!
DeleteI collect magnets whenever we travel & I've made a few, but nothing like your artistic masterpiece! Wowzer--love your creative hand done dots & brilliant use of only 1 word! Yes, you have inspired me!
ReplyDeleteOh Greta! How sweet of you to say that :) I'm so glad to have inspired you to keep creating. Collecting magnets from your travels is a wonderful idea- something a bit more useful than the regular postcard! Do you have a favorite magnet that you've collected? Please share!
DeleteWhat a fun creation! I love it's bright and cheery feel! Cool trick with the dimensional dots!
ReplyDeleteI can't get enough of bright, sunshine-y colors, Lea! Simple techniques go a long way ;)
DeleteThis is a very cool and unique piece of art!!! I love all the mixed media elements that went into this! It's really fabulous, not to mention ultra creative and inspiring! Thanks so much for sharing your delightful step-by-step project for the hop today!!! I really enjoyed your post!
ReplyDeleteHey Linsey :) Thank you very much for visiting and leaving such a wonderful comment on my project! I'm glad the step-by-step is clear and that it has inspired you.
DeleteI love the idea of embroidery floss for around the edge. Brilliant!
ReplyDeleteMe too, Paula! I thought the addition of embroidery floss was a softer touch for the sturdy and clean cut edges. Thanks!
DeleteA fantastic piece of art, so full of gorgeous colour and textures!
ReplyDeleteI love the tip about the shadow under the dots! Great inspiration!
ReplyDeleteCan't wait to try adding gesso to the word art in the kit! LOVE the texture and color you achieved on them!
ReplyDeleteLove your crowning touch.
ReplyDeleteVery pretty magnet. I love how you made your project into something that you can see all the time. Thanks for sharing with us how you made this.
ReplyDeleteVery sweet project. I love how you made it into something that you'll be able to enjoy all the time. Thanks for sharing how you put this together.
ReplyDeletegreat project, love the magnet idea.
ReplyDeleteWhat a great way to use your creative ideas without having to do a lot of work collecting the pieces needed.
ReplyDeleteI love the dots, framing with the embroidery thread, Wonderful.
thanks for sharing.
I enjoyed all the element touches and the layering of your artwork. Nicely done :D thanks, -con
ReplyDeleteoil pastels?? do you need to seal this? thanks, -con
DeleteHi Con! Yes, I used three different colors: Orange, yellow, and purple (for the shading). I do suggest sealing the entire project with a spray varnish to prevent smudging.
DeleteLove all the details!
ReplyDeleteThis is so pretty. The colors really pop.
ReplyDeleteMartice- I love your little crown stack art and your colors are so warm! mmm! ")
ReplyDeletelove the piece. especially the tip for the shadow under the white dots. that's the stuff I never got in art class. hard when you only use a ruler and protractor in class due to lack of skill. :)
ReplyDeleteI understand what you're saying, Christi! I believe our skills will only develop through PRACTICE + a good dose of self-love. Both techniques (free-hand and using rulers/protractors) are great for different things. The problem comes when your own artistic voice and expression is hindered because of the tool of choice. Most times, my fingers (finger painting) are my best tools! Thanks for visiting and commenting!
DeleteLove the tip on the dots!! Thanks for sharing your fabby piece!!!
ReplyDelete<3 J
jwoolbright at gmail dot com
HerPeacefulGarden.blogspot.com
This is super and the directions are so well done. Thanks.
ReplyDeleteBeautiful! Love the crown over the word art. Love the colors and your idea for a magnet. Thanks for sharing.
ReplyDeleteKatie B.
Love how u have the little charm hanging down from ur piece!
ReplyDeleteMartice you did a wonderful job on this post.. Thank for *breaking it down* lol and letting us know what to expect when we use a Stackable Art Kit! Love your project and what I remember most believe it or notis the tip about adding the shadow under the white dots to add deminsion! Great tip, I thank you!!
ReplyDeleteGreat job, I love all the mixed media elements, dimensions with the tip using black under the white dots. TFS.
ReplyDelete